
Application Management
All SpreadsheetWEB applications under your account are listed in the Applications page. Here, you can launch or customize your web applications.
All SpreadsheetWEB applications under your account are listed in the Applications page.
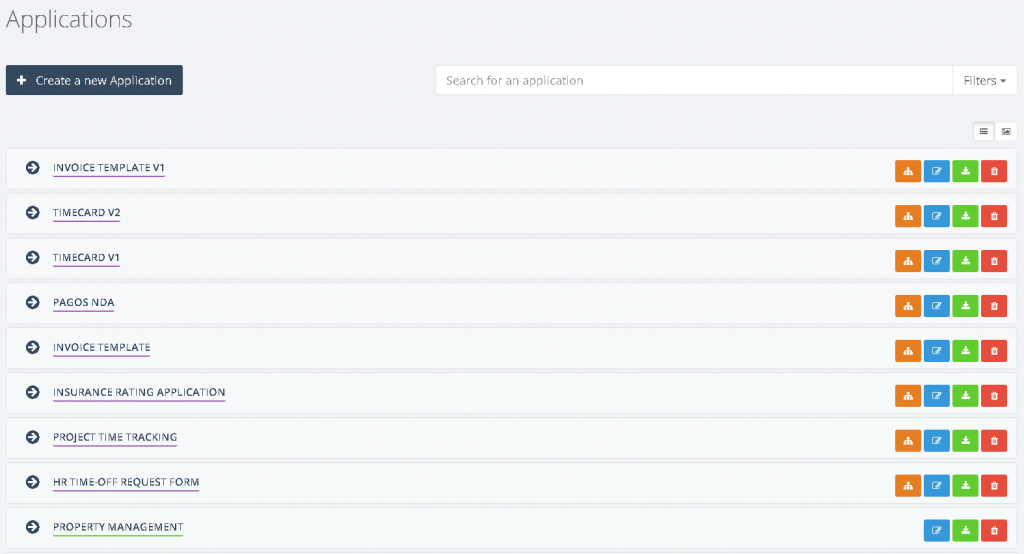
Application details, such as Online Status or Access Type will be displayed when you press the arrow button next to application name.

An explanation of symbols and buttons seen on this page are as shown below,
| Applications | Displays the name of the application as a link. Upon click, application will open in a new browser window |
| Download the Excel file associated with the application |
| Open a dashboard application in edit mode |
| Edit settings of the application |
| Go to the Data page for the selected application |
| Remove an application |
| Online Status | Shows whether the application is online of offline: |
| Creation Date | Creation date of the application |
| Last Updated | The date the application was last updated |
| Notes | Note text will be displayed only in the Control Panel |
| Access Type | Unrestricted – everybody can access the application Restricted – access restricted to registered users Restricted with Registration – users can only access the application after registering to the system. |
| SSL Enabled |


View, download and work on saved data
Click the  icon in the data column to open the Data page to view, download and work on saved data of a web application. Please note: the data tab and database functionality are only available if activated and set up during conversion with the SpreadsheetWEB wizard.
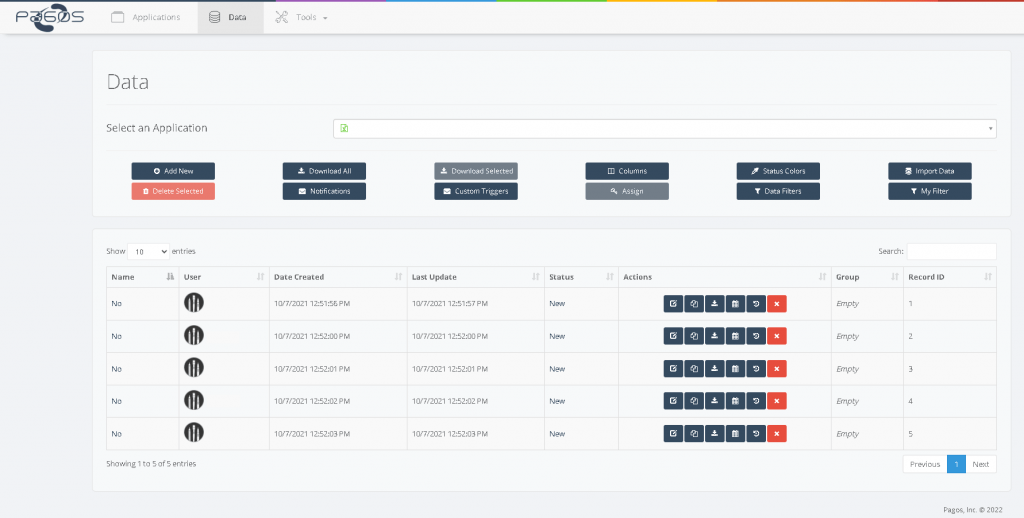
An example data tab that allows the user to view, download, and work on saved data.
Change the name of an application
To change the name of a web application, go to A****pplications and browse to the web application you wish to edit and in the same row click the  button. A new page will appear with a table showing the current settings of your web application. In the top row, simply overwrite the existing web application name and then click save at the bottom of the page.
Update the Excel spreadsheet that is attached to an application
To update the Excel spreadsheet that is linked to an application, go to Applications and browse to the application you wish to edit and in the same row click the  button. A new page will appear with a table showing the current settings of your application.
In the second row it says Excel spreadsheet. Here you can simply upload a new Excel spreadsheet. Important: only Excel spreadsheets that prior to uploading have been processed with the SpreadsheetWEB Wizard can be used here. That means that if you have changed anything in the Excel file, you need to convert the file again using the SpreadsheetWEB wizard, save and close the file before you can upload it.
Assign an application to a group of users
To assign an application to a user group, it is required that you have already created a user group. The steps to create a new user group will be explained farther in the document.
Assigning an application to a group of users can be done while adding an application or at any time afterward.
If you already have an application that you want to assign to a group, please go to the A****pplications, then browse to the web application you wish to edit and in the same row click the  button. A new page will appear with a table showing the current settings of your web application. Go down to the row where it says Add to group(s) and select the group that you want your web application to be assigned to. When you are done, click save.
Restrict access to an application
Restricting access to an application is a multiple-step process.
- It is required that you have created a group.
- At least one user must be assigned to that group.
- Access must be changed to restricted.
- The web application must be assigned to the same group.
For step 3 and 4, click the A****pplications in the navigation menu. From the list of web application, find the one that you want to restrict access from and click the  button in the same row. On the next page, please go to the row where it says Access and activate the option button next to restricted. To assign the web application to a group, go to Add to group farther down in the table and select a group from the combo box.
Prompting Users to Create a New Account Using the “Restricted with Registration” Access Type
An application with Restricted with Registration restriction type will prompt users to create a new account under your SpreadsheetWEB license when they access the URL of your web application. If users already have an account, they can login and continue using the application. If they don’t, they’re going to need to create a new account.
When you select Restricted with Registration, the system will create a new option called User Role for Registration where you can select the user role for any new accounts created through the application prompt when users access it.
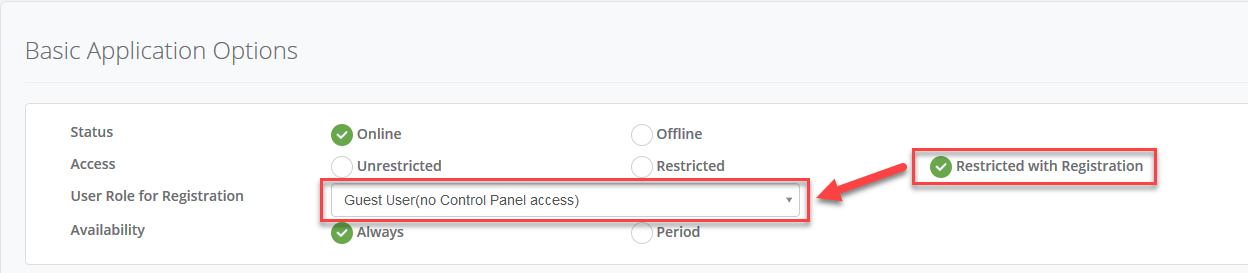
The Guest User(no Control Panel access) is a special type of user that can only access the designated web application, and no other part of the system. If you assign a different user role, those users will be able to login to your SpreadsheetWEB account, and will have access to parts of the system designated by that user role.
Change the online/offline status of an application
To change the online/offline status of a web application, click A****pplications in the navigation menu and browse to the application you wish to edit and in the same row click the  button. A new page will appear with a table showing the current settings of your web application.
Go to Status and activate either the option button online, if you wish your application to be available on the web, or offline if you wish that your application is only stored in your account but not yet available for others on the web.
Client Key Management
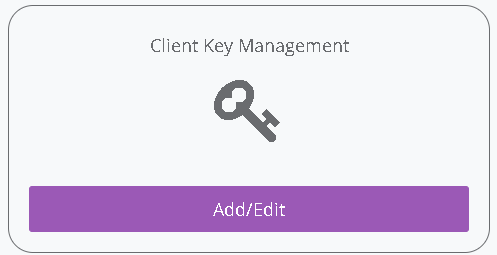
You can add client keys to grant access to a web application through API.
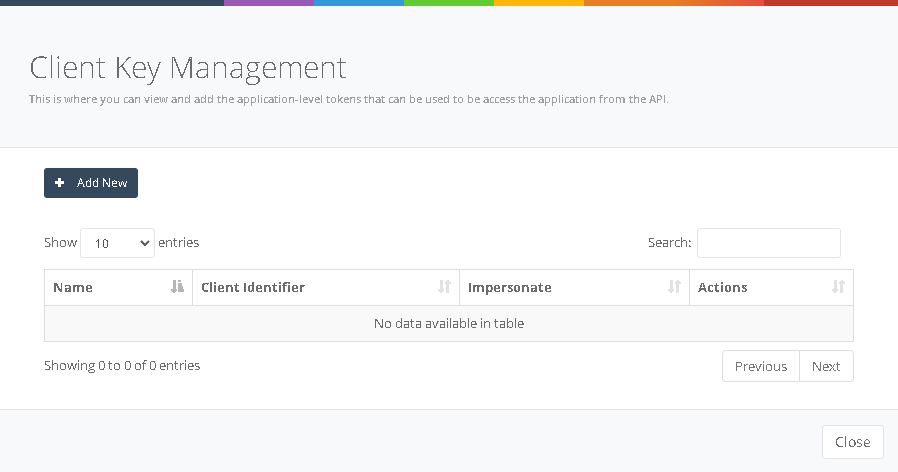
All existing keys will be displayed on this grid. Press Add New to create a new client key specific to this application.
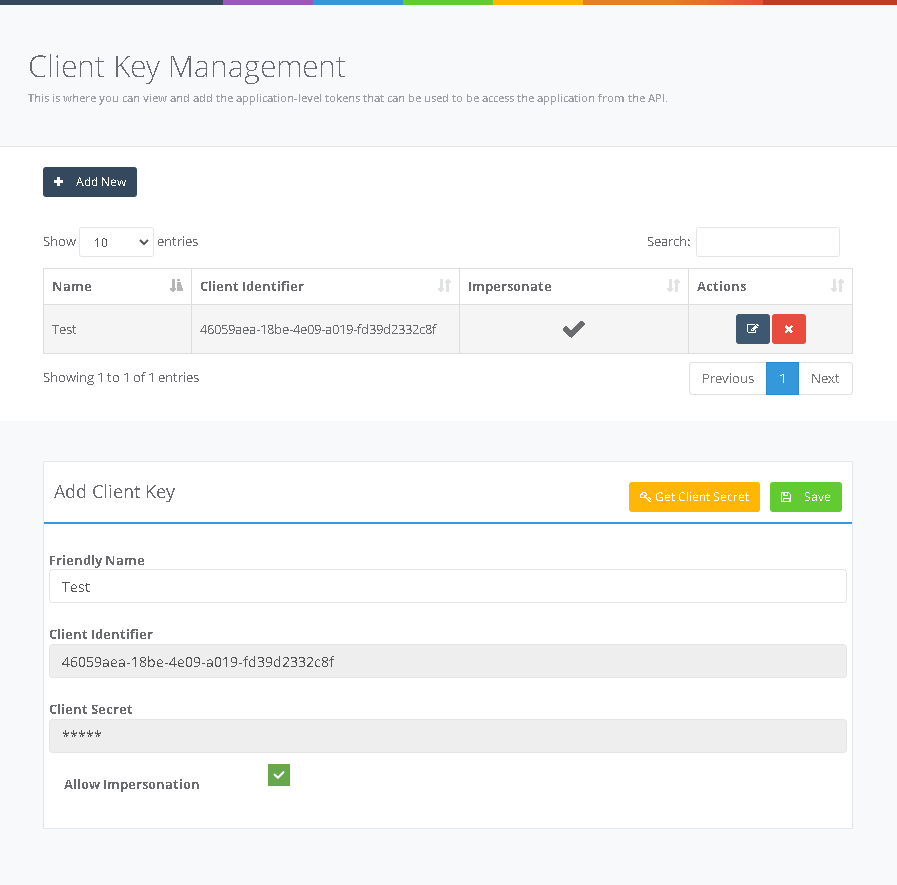
Press the Edit button next to a key to modify it and press the Delete key to delete the key and remove any access through that particular token.