SalesForce
The Sales Force Connector allows you to integrate your designer application with SalesForce. You can create or update Lead record with SalesForce connector.…
The Sales Force Connector allows you to integrate your designer application with SalesForce. You can create or update Lead record with SalesForce connector.
Sales Force Settings
-
Login to SalesForce
-
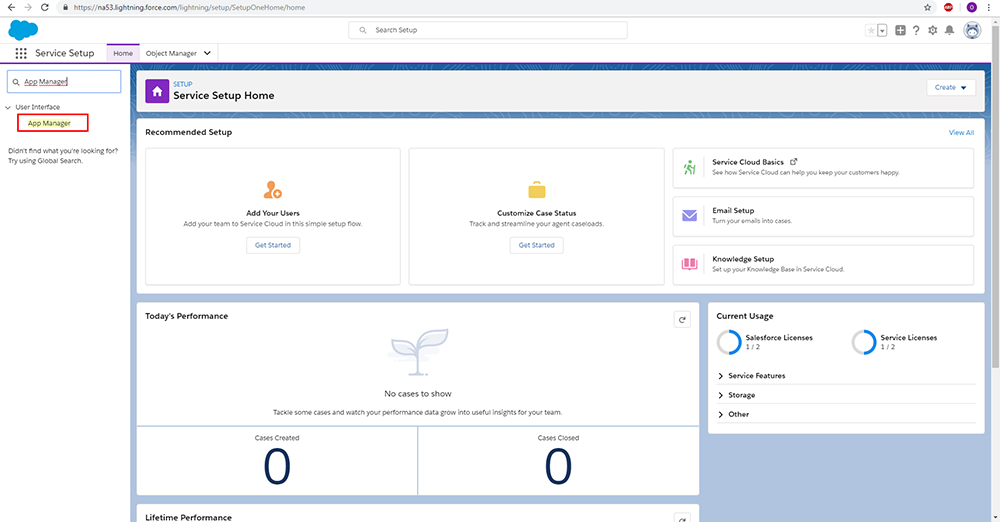
Open Service Setup
-
Navigate to App Manager
-
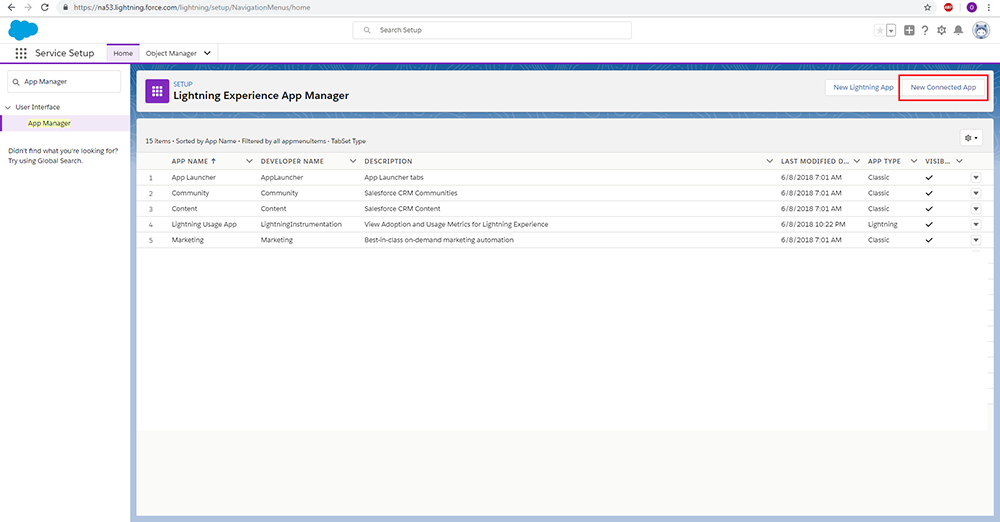
Click on New Connected App
-
Fill out all required fields on the Connected App page
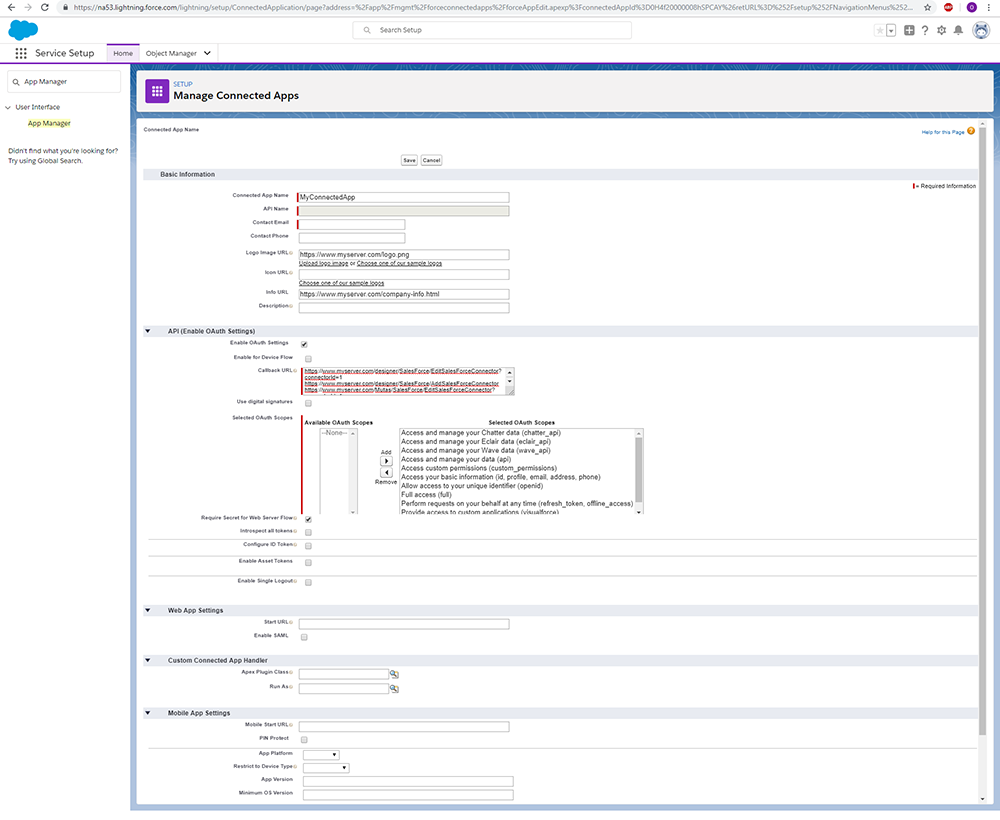
Connected App Name
Name of your application
API Name
The name of your API connection
Contact Email
E-mail address of the contact person
Enable Oauth Settings
You need to enabled this option for Spreadsheetweb Oauth connection to Sales Force
Callback URL
https://{host-name}/designer/SalesForce/SalesforceCallback{host-name} defines your server address
The example below is for a web application running on the SpreadsheetWEB public cloud (www1).
https://www1.spreadsheetweb.com/mutas/SalesForce/SalesforceCallback
Selected OAuth Scopes
This should be set to Full access.
Require Secret for Web Server Flow
This option should be enabled.
-
Click Save. You will be redirected to the Application Review page.
-
Login to your SpreadsheetWEB account and create a designer application if you haven’t done so already.
-
The fields given below can be tied to User Interface controls in your designer application.
Field Name Type Required City String Company String Yes Country String Description String Email String Fax String FirstName String Industry String LastName String Yes LeadSource String MobilePhone String NumberOfEmployees Integer Phone String Rating String Salutation String State String Street String Title String WebSite String See this page for more details on these parameters:
https://developer.salesforce.com/docs/api-explorer/sobject/Lead
Designer Settings
-
Your designer application must have a database table already in place. For this, your application must contain at least one data table, and be published.
-
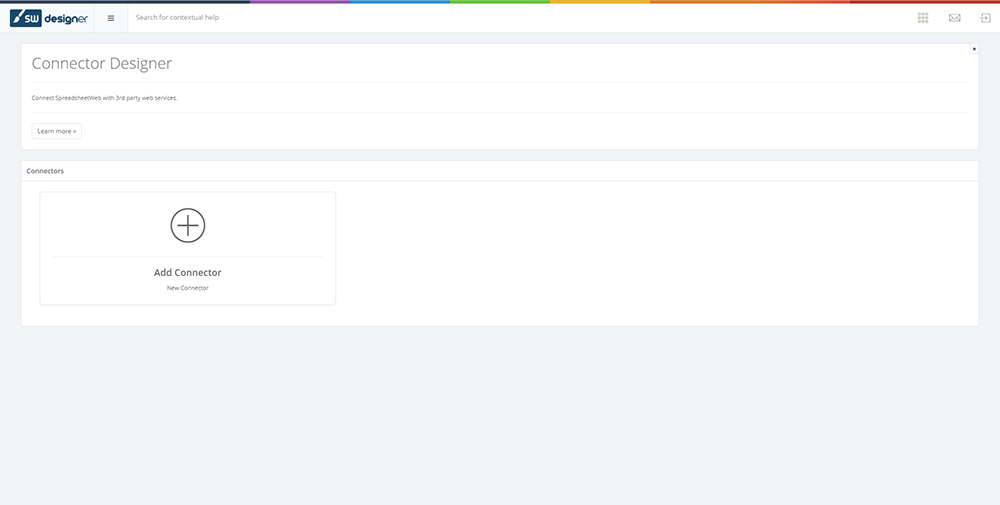
Next, go the Connectors page, click Add Connector, and select SalesForce.
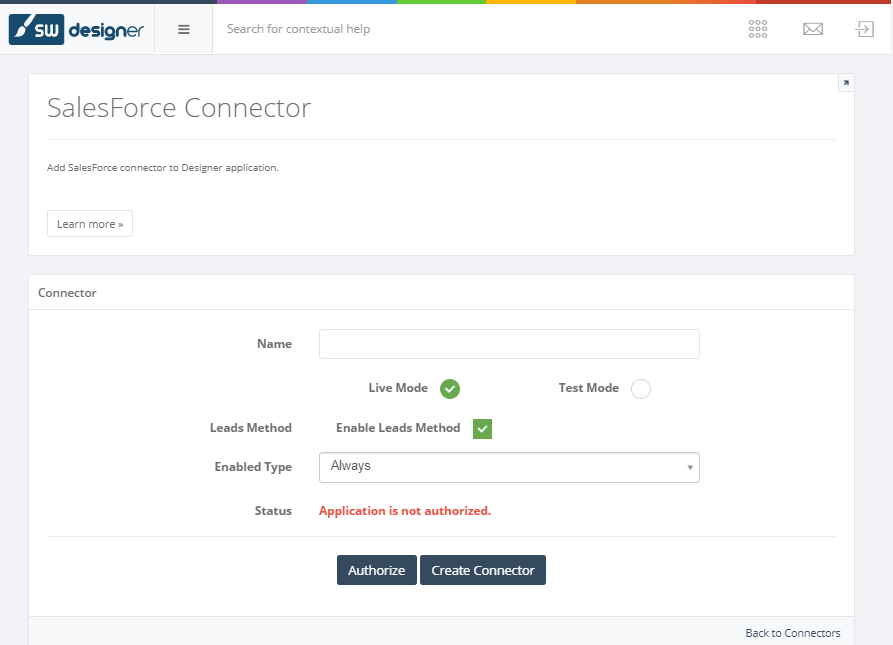
- Name field is the friendly name for your connector. This will not be visible to the end users. Leads Method must be enabled if you want to use the Leads method.
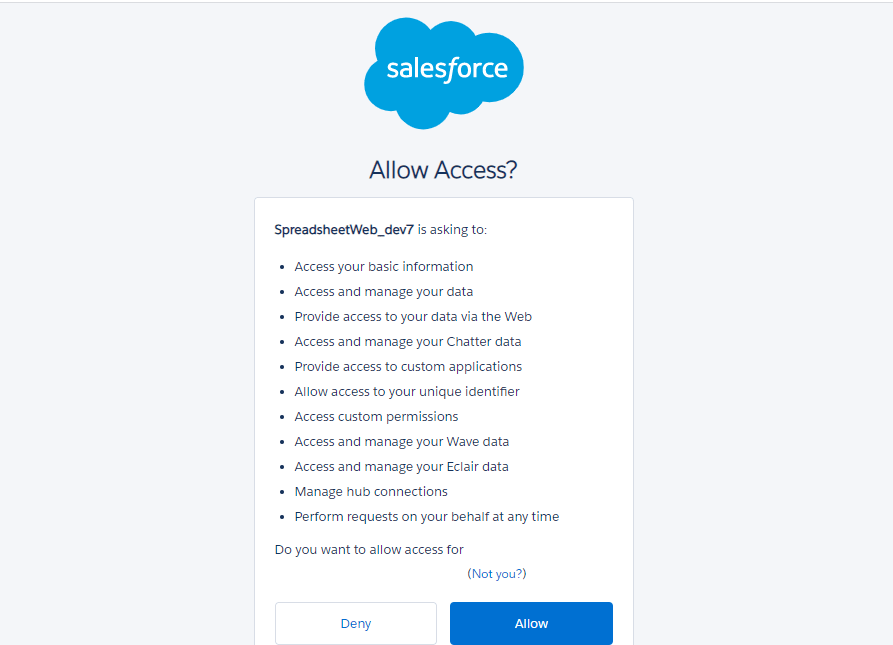
- Click Authorize and you will be directed to SalesForce .
- Login with your details and click Allow. You will be redirected to the Connectors Page.
- Click the Create Connect button when you’re done.
-
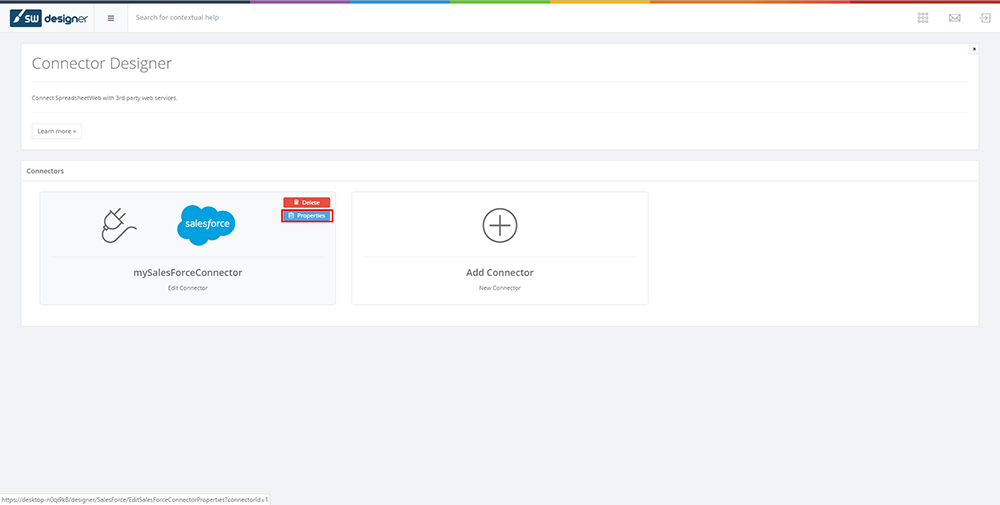
After the connector is created, click on the Properties button which becomes visible when you hover over your connector module.
-
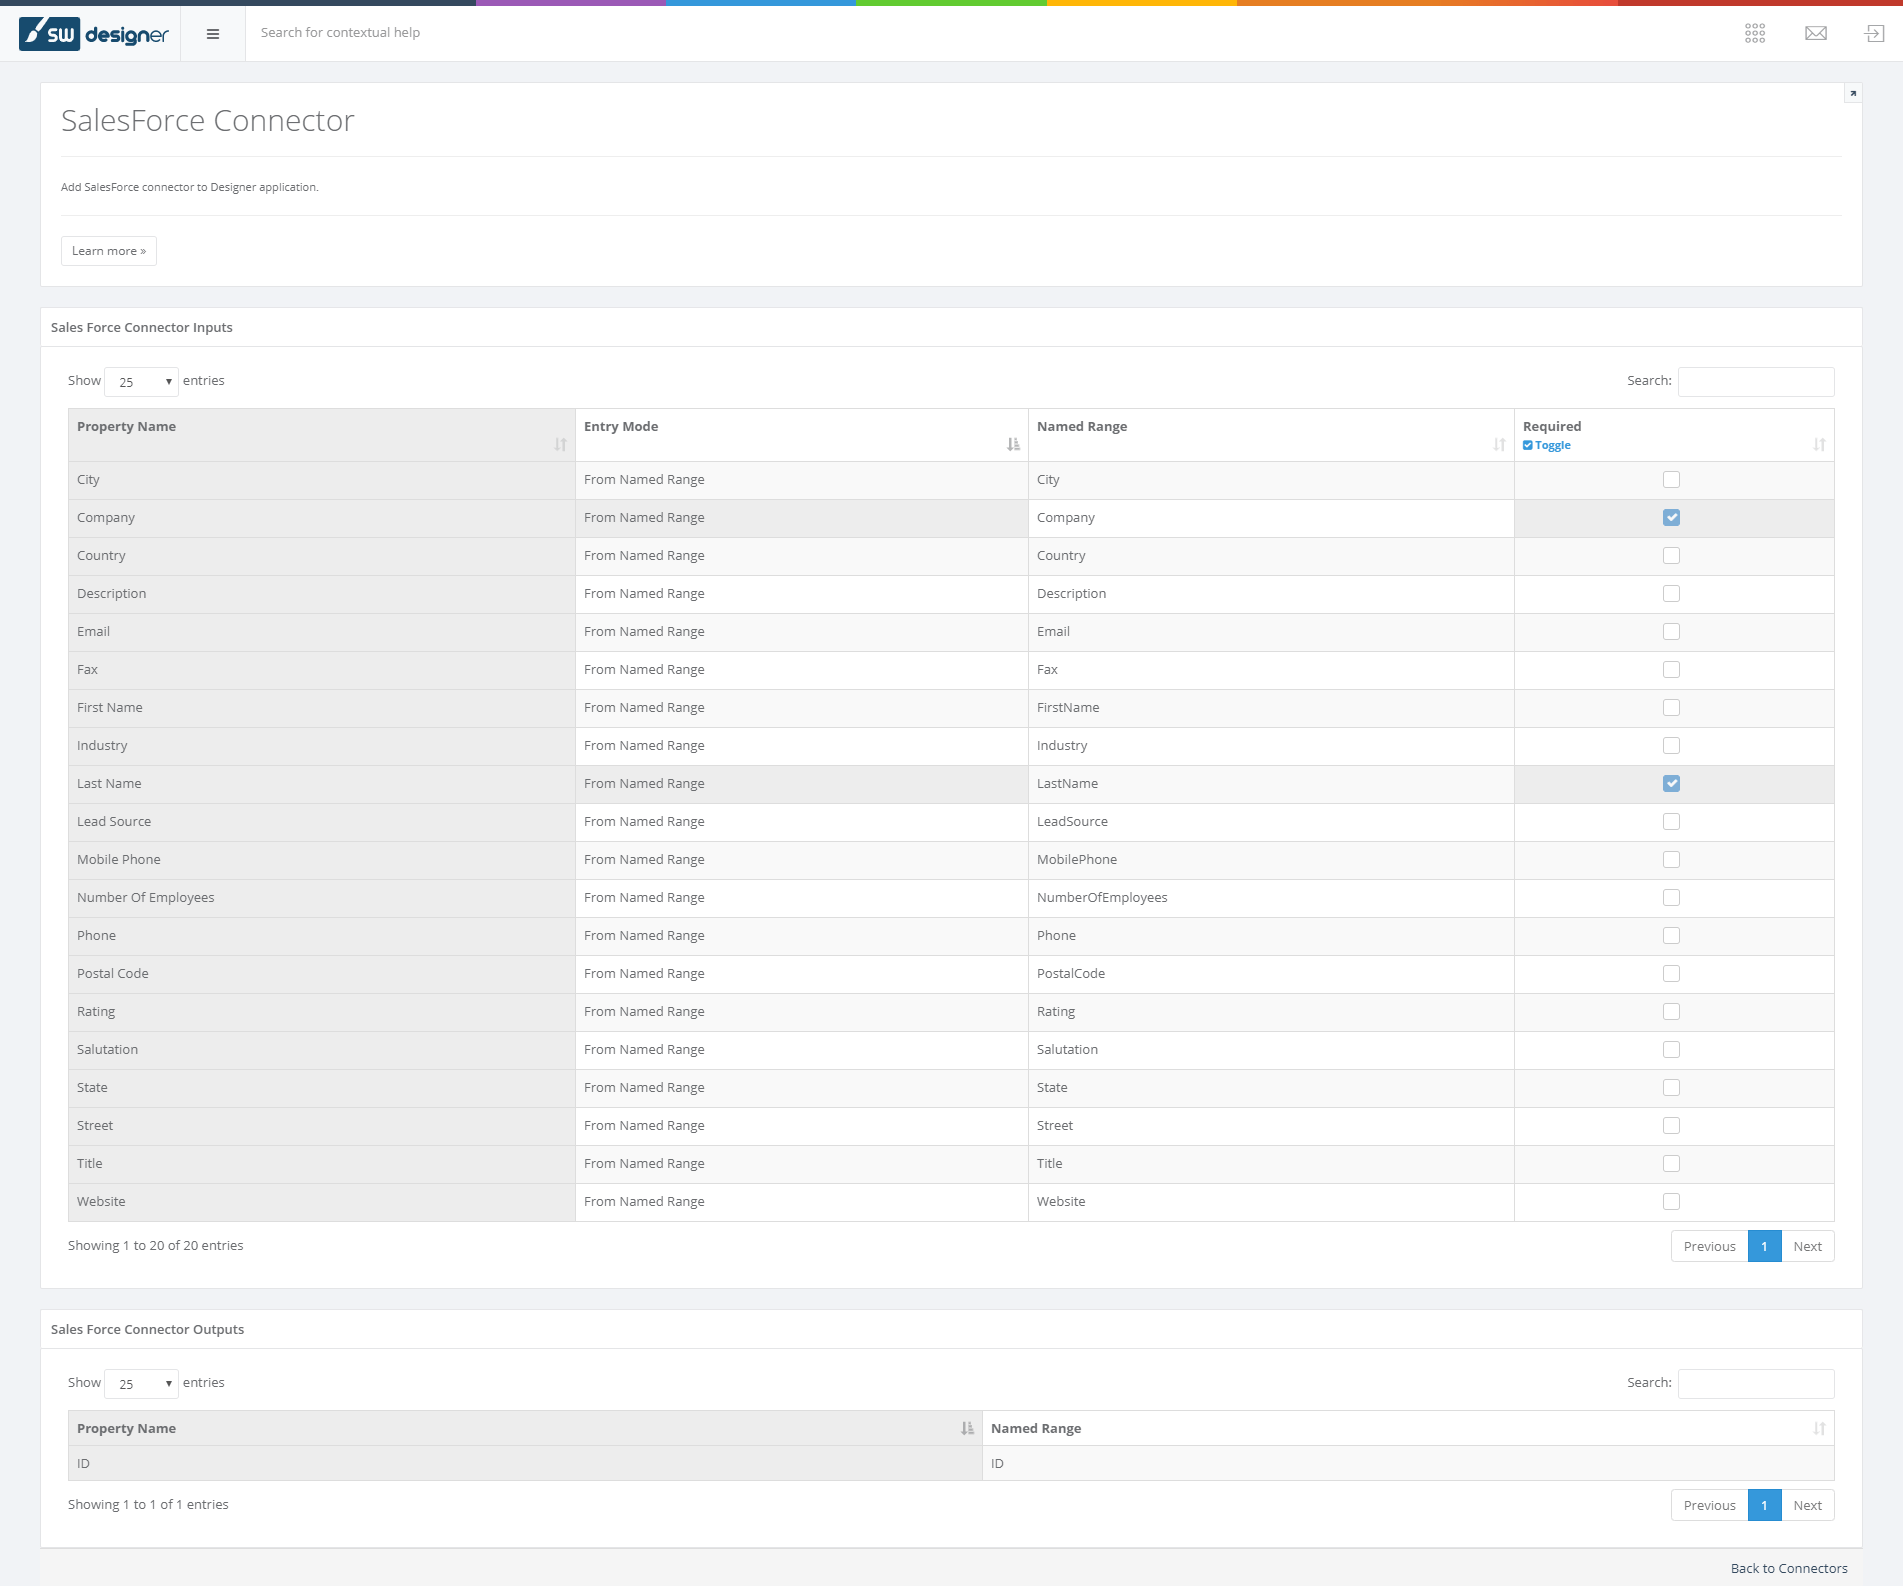
On the Properties page, you can map and configure the SalesForce fields with those in your web application. Set the Entry Mode to From Named Range and select the corresponding named ranges in the Named Range fields. You can also define a named range for the ID property if you’re planning to utilize this feature.
-
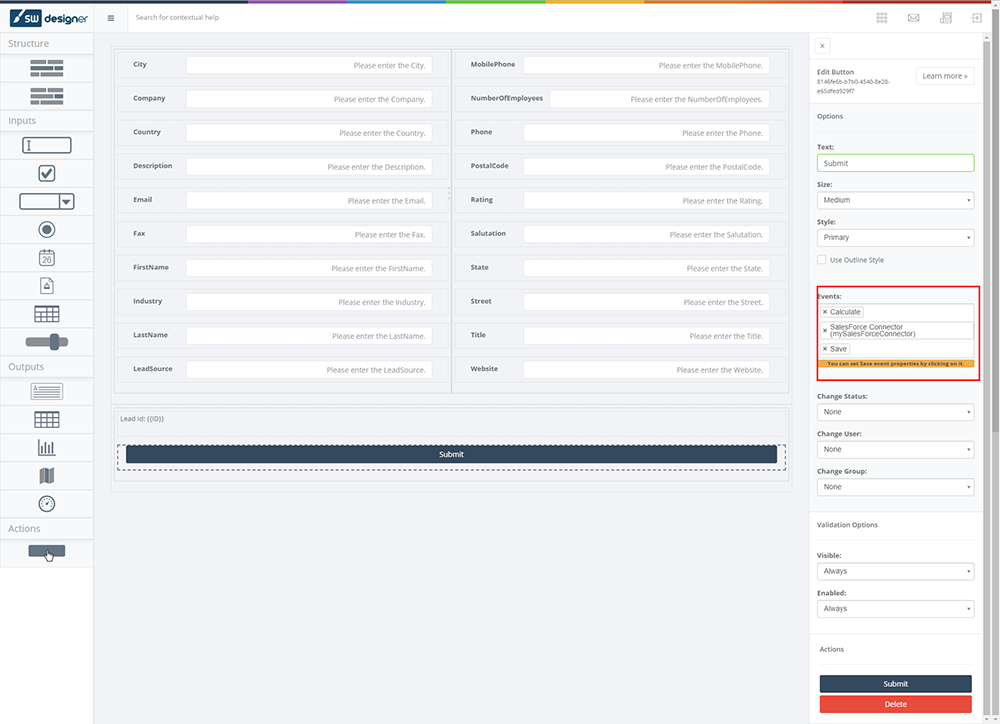
Go to user interface design and add an Action button control into the page.
-
On the events section, select “SalesForce Connector (your connector name)”.
-
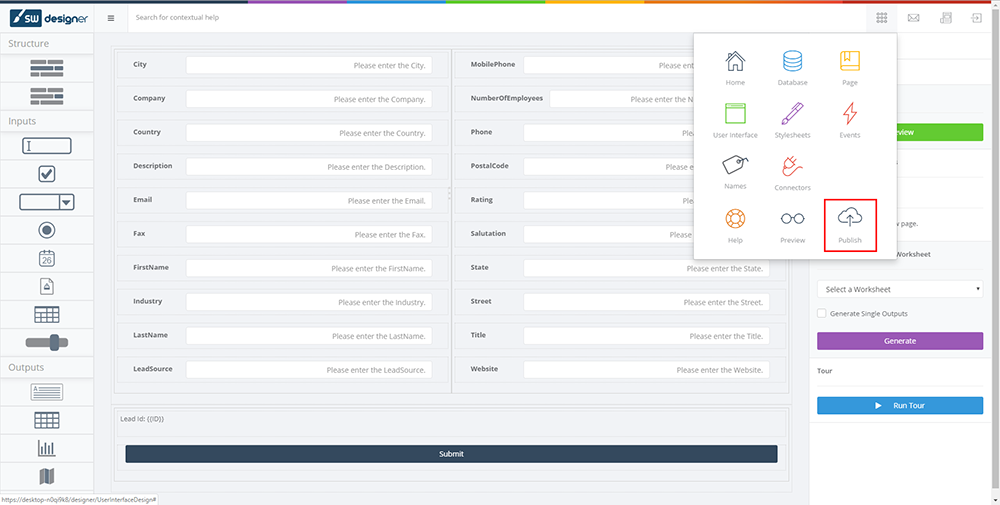
Finally, Publish your application from the dial menu.